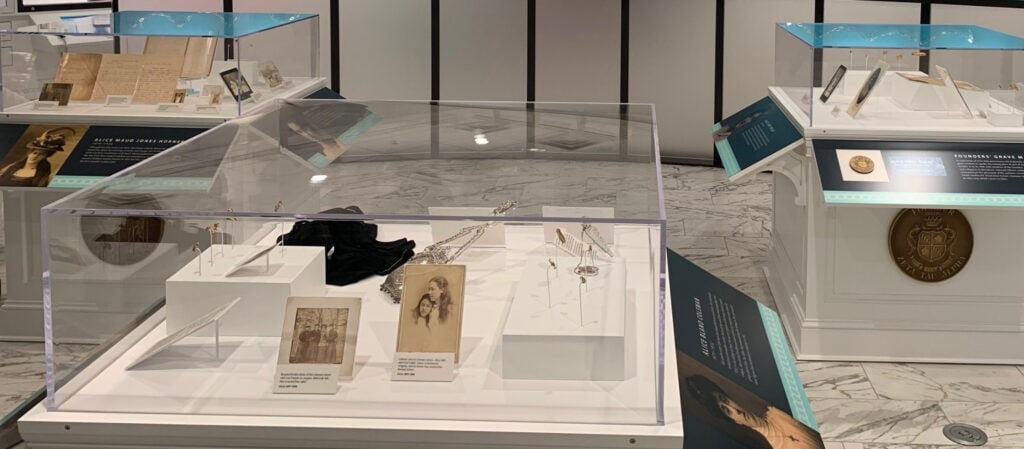
When it comes to exhibit fabrication, every detail matters. At 1220 Exhibits, we specialize in crafting high-quality vitrines—museum display cases designed to protect and showcase artifacts, art, and historical objects. The process of making a vitrine is precise and methodical, ensuring both durability and clarity. Here’s an inside look at how our acrylic specialist, Alyssa Palmer, brings a vitrine to life.
If you want to watch a full video of a vitrine come to life, check out our post on Instagram here.
Step 1: Cutting Acrylic Material on the CNC
The vitrine’s acrylic panels are first cut to size using a CNC (Computer Numerical Control) machine. This step ensures precision and consistency, creating clean edges and accurate dimensions according to each project’s specifications.
Step 2: Beveling the Edges
Next, we cut bevels into the pre-cut acrylic materials. These beveled edges are essential because they create a space for the adhesive, ensuring a strong bond when the panels are joined together.
Step 3: Polishing & Sanding
Before assembly, we remove the protective paper from the edges and run the non-beveled edges through a polisher. This step smooths out any imperfections that may have occurred during the beveling process, creating a flawless finish.
Step 4: Preparing Edges for Glue
To ensure a seamless bond, we thoroughly prepare the rest of the edges for glue application. This step includes final sanding and cleaning to remove any residual dust or debris that could interfere with adhesion.
Step 5: Mixing the Adhesive
Creating the perfect adhesive mixture is a science. We use a combination of resin glue, thinner, and hardener, measuring each component carefully. The typical ratio is 10% glue, 10% thinner, and a precise measurement of hardener to accelerate the drying process. Thinner allows for smoother application, while the hardener ensures a faster curing time—reducing drying from 24 hours to just 30-45 minutes.
Step 6: Gluing the Beveled Pieces
Once the pieces are aligned according to the specified drawings, we apply the adhesive into the bevel joint. Precision is key, as an improper bond can weaken the vitrine’s structure and cause us to start the whole process over.
Step 7: Allowing the Glue to Cure
Depending on environmental factors such as temperature and humidity, we allow the glue to set for 30-45 minutes. This waiting period ensures a firm bond before further processing.
Step 8: Trimming Excess Glue
After the adhesive has cured, we trim off any excess ledge where the bevel rests. This step is crucial for both aesthetics and structural integrity. The biggest challenge here is ensuring enough glue was used during the initial application.
Step 9: Final Polishing & Assembly
At this step, we file down the edges and attach the vitrine’s top panel. Once assembled, we polish the glue joints to achieve a smooth, professional finish. The goal is to make the seams nearly invisible for a pristine final product.
Step 10: Cleaning & Packaging
The last step in the process is cleaning the vitrine, removing any fingerprints, dust, or residue. After a thorough cleaning, the vitrine is carefully packaged to prevent damage during transit and shipped to the project site, ready for installation.
Vitrine Craftsmanship at Its Finest
Each vitrine we create is a testament to our commitment to quality and precision. From cutting and beveling to polishing and finishing, every step is executed with care to ensure the final product meets the highest standards. Whether protecting priceless artifacts or displaying contemporary art, our vitrines provide the perfect balance of protection and presentation.